Welcome to my first episode in the series called Deconstructing the Photo In the video below I will show you everything you need to know about this particular picture. From the…
Tutorials section
Welcome to my first episode in the series called Deconstructing the Photo In the video below I will show you everything you need to know about this particular picture. From the…

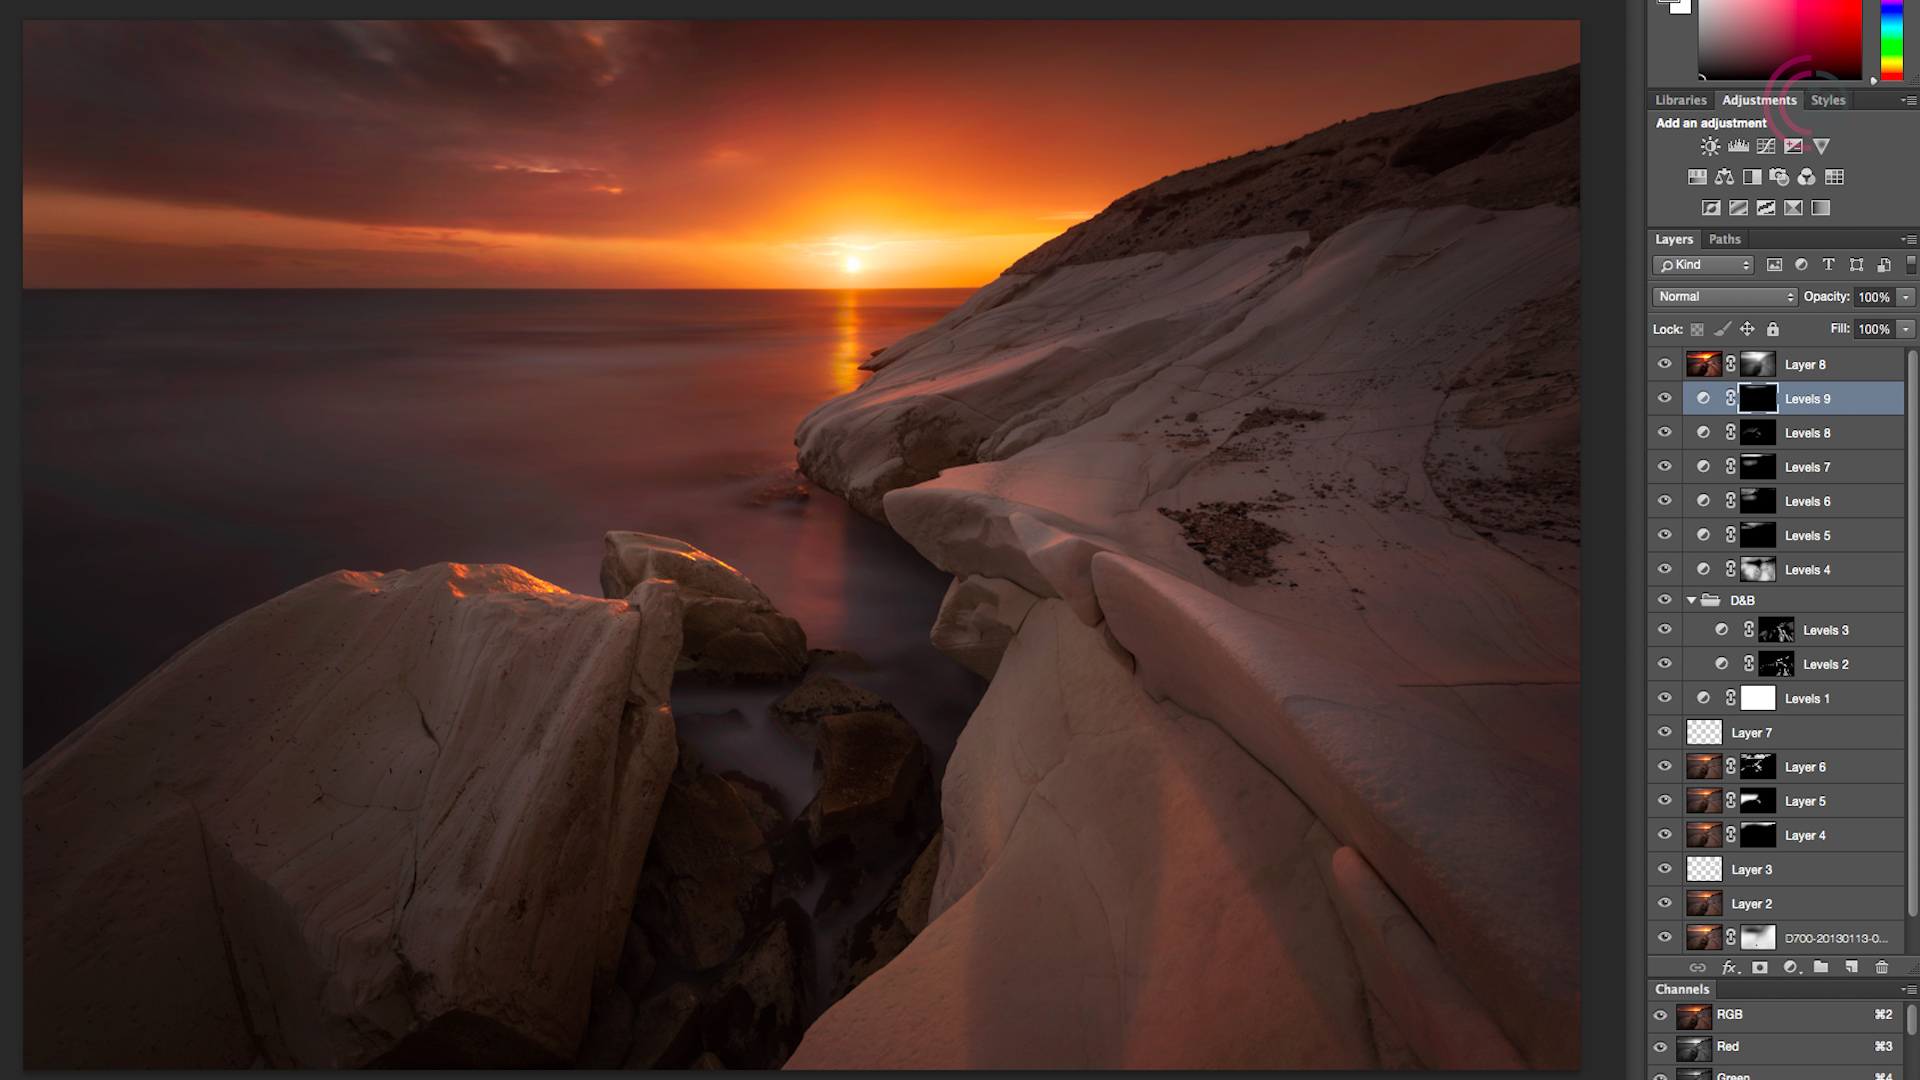
I’ve recorded the post-processing of one of my recent photos, and added descriptive captions, hope you like it! It’s the whole process from the very beginning – I import RAW…
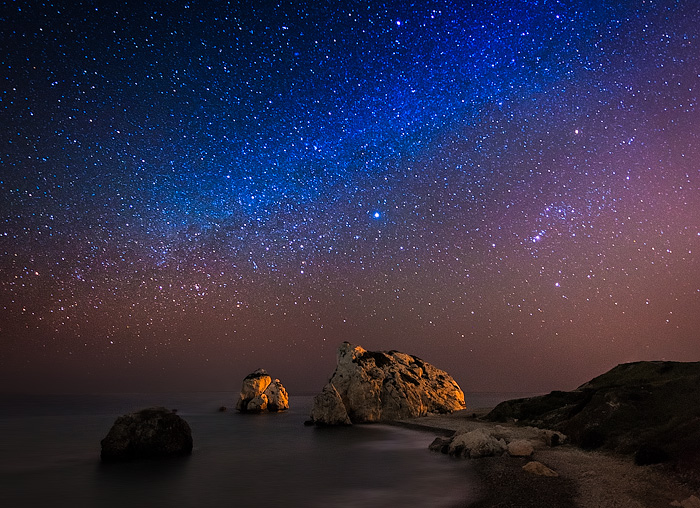
Hold on a second, cowboy. First of all, if you really want to start taking pictures during the night, you need to get familiar with manual mode. There’s no possibility…

In this article I would like to talk about everything you need to know to take long and very long exposure shots. I will list all the required and recommended…

In this video I will show you how to straighten a photo containing quite severe ultra wide angle distortion. For that I will use Lightroom and Photoshop. Some basic adjustments…
I constantly try to improve my photography workflow. Number of my pictures in Lightroom catalog grows every day and I need really solid process to handle all the files from…
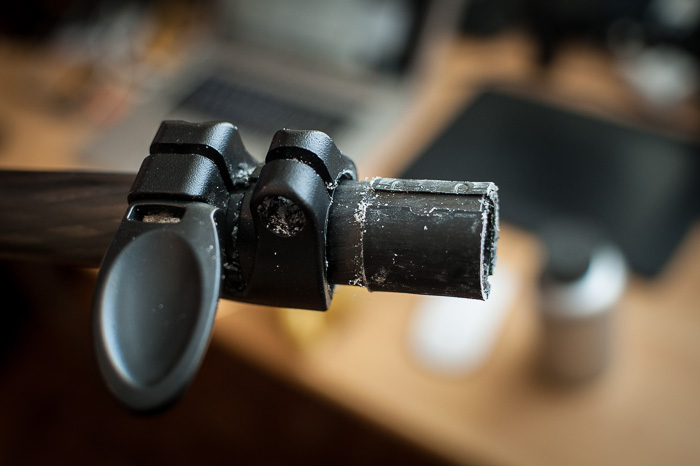
I’m pretty sure if the tripod could talk it would say that it hates shooting seascapes with you. Especially when it is exposed to the sea water directly, the legs…

Today’s challenge is to process a photo using only one type of ajustement. I’m presenting this mainly because I want to show you how powerful this operation is and stress…